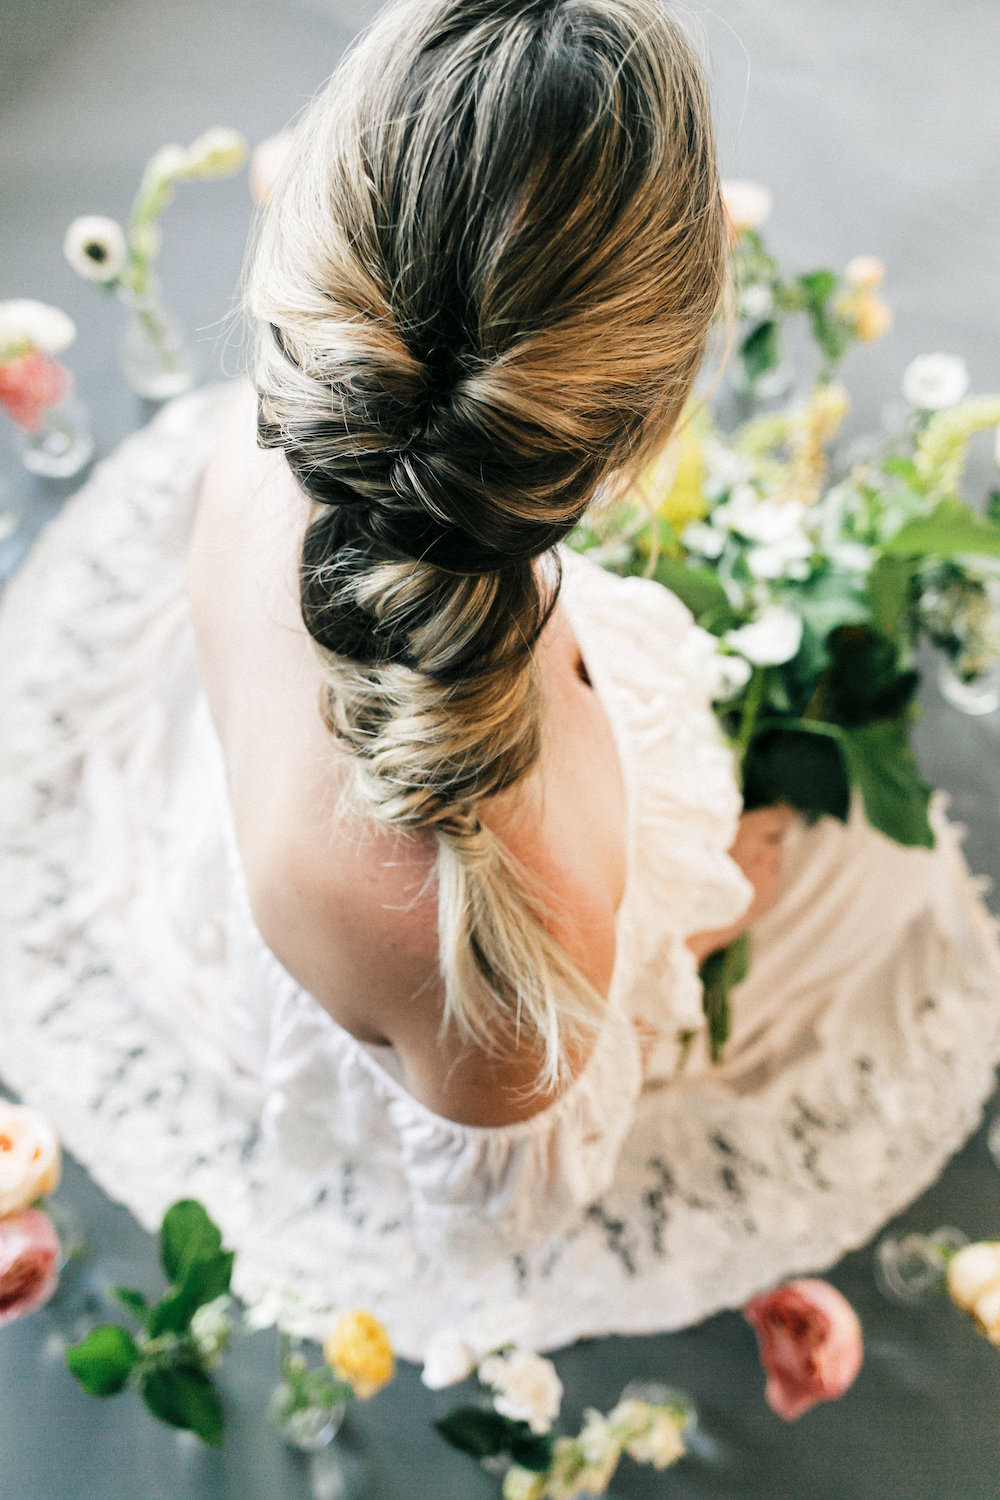
I hope you all had a great weekend. In continuing with my little mini tutorial streak I am apparently on here, I wanted to share with you how to curl your hair with a flat iron. I recently got the new ghd jewel styler and I love it! (It also comes with a matching paddle brush).
Anyway, I don’t think I had updated my flat iron for about 5 years but it was definitely time. My old flat iron was a little too wide and thick to do a good looking curl. This fun-colored ghd styler is one-inch with a rounded barrel perfect for sculpting pretty curls. I also love that it has ceramic heaters and contoured plates that effortlessly glide through your hair without snags… making gorgeous sleek waves. And another really cool feature is that it will automatically shut off in case you forget, which I often do. To steal the words of Travis from Clueless, I definitely give this styler two enthusiastic thumbs up.
Ok now onto the instructions…
STEP 1: Apply a heat protectant and divide hair in half
Before putting heat to my hair I always apply a light heat protectant all over from roots to ends. Next, u
se a clip to hold the top half of your hair up.
STEP 2: Grab a one-inch section of hair
With your right hand, grab a one-inch section of your hair on the left side of your head.
STEP 3: It’s all about hand placement
Take the flat iron vertically in your left hand with your thumb facing out. (Note: make sure your left hand is on top of the right).
STEP 4: Let’s do the twist
Then twist your left hand with the flat iron to the left in a half circle (away from your face). As you do this, bring your right hand with the hair towards your face and just thread the hair through the iron as you bring it to the ends. Continue to do this until you reach the back of the head.
STEP 5: Let’s do the other side
When curling the right side, hold the flat iron in your right hand vertically from the top with the wand facing down. With your left hand hold a one-inch section of hair and as you start to curl bring your left hand with the hair towards your face. Continue until your entire bottom section is finished.
STEP 6: Bring down the top half
Repeat steps 2-5 on the top half of your hair and voila! Be sure to set with hairspray.
*Note: If you are right-handed like me then it will feel awkward to curl the left side and vice versa. For me, curling the right side is much easier because the wand is facing down and my hands aren’t going all over the place.
I hope you found this tutorial helpful. Were the instructions easy to follow? I’d love to hear your thoughts in the comments below. Thanks for stopping by and good luck.
