


Today I have partnered with Pro Beauty Tools to share with you a hair tutorial for my favorite mermaid beach wave. This look is one of my favorite go-to’s, and if you follow my blog, you know I wear it often. After this tutorial I hope you too can style beach waves like a pro.
I started out by washing my hair and blowing it out with Pro Beauty’s 1875 W Ionic AC Motor Dryer (available at Target) to make my hair smooth. I have fine, wavy hair that can get a little crazy sometimes so I prefer to start out with smooth hair.
STEP 1:
To get started, divide your hair and pin up the top half.


STEP 2:
Next, divide your hair in half again and spray each side lightly with hairspray. I like to use Moroccan Oil’s Luminous Hairspray in ‘strong hold,’ and then I brush it out.


STEP 3:
Taking approximately one-to-two inch sections, curl your hair away from your face using the 1.25″ Professional Gold Curling Iron. Be sure to leave a few inches of your ends out.
I love this curling iron because it delivers professional quality and performance, but it’s only $20 at Target!


STEP 4:
Instead of releasing the hair, keep the barrel clamp closed and twist a few times in the direction of the curl as you pull the iron down. Once all your hair above the clamp is unwrapped, you can either release the clamp and let those ends remain as they are for a more natural look, or, as I have, you can continue to twist and pull the barrel down as you go. This creates a more twisted curl at the bottom, as if the ends of your hair were dipped in the ocean waves.

STEP 5:
Continue curling away from your face on that side of your head, and then run your fingers through your hair to give it a more piecey, non-uniformed look.


STEP 6:
Repeat these same steps on the opposite side, curling away from your face. Once the bottom half of your hair is complete, spray with texturizing spray. I love
Alterna’s Caviar Anti-Aging Perfect Texture Finishing Spray
.


STEP 7:
Let down the top half of your hair and again, divide in half. Spray each section with the hairspray again and brush out.

STEP 8:
Starting at the front of your hair, wrap your hair around
Pro Beauty’s one-inch wand, wrapping
away from your face. I like to curl away from my face for the first few sections (two to three), and then alternate directions after that so that the hair in the back is curled in different directions.
Also, be sure to always angle down when using a curling wand.
I also don’t like to start wrapping too close to the top of my head, so start a few inches down from your scalp.
Repeat this on the other side of your head.
PS, I love this wand because the barrel is two inches longer than traditional wands, so it’s perfect for long hair. You can get your’s at Walmart.


STEP 9:
Once finished, spray the top sections with texturizing spray and comb through your hair with your fingers… and voilá! Don’t brush through your hair with a brush to give it a more piecey look. You can finish with hairspray if you need.


Voilá!


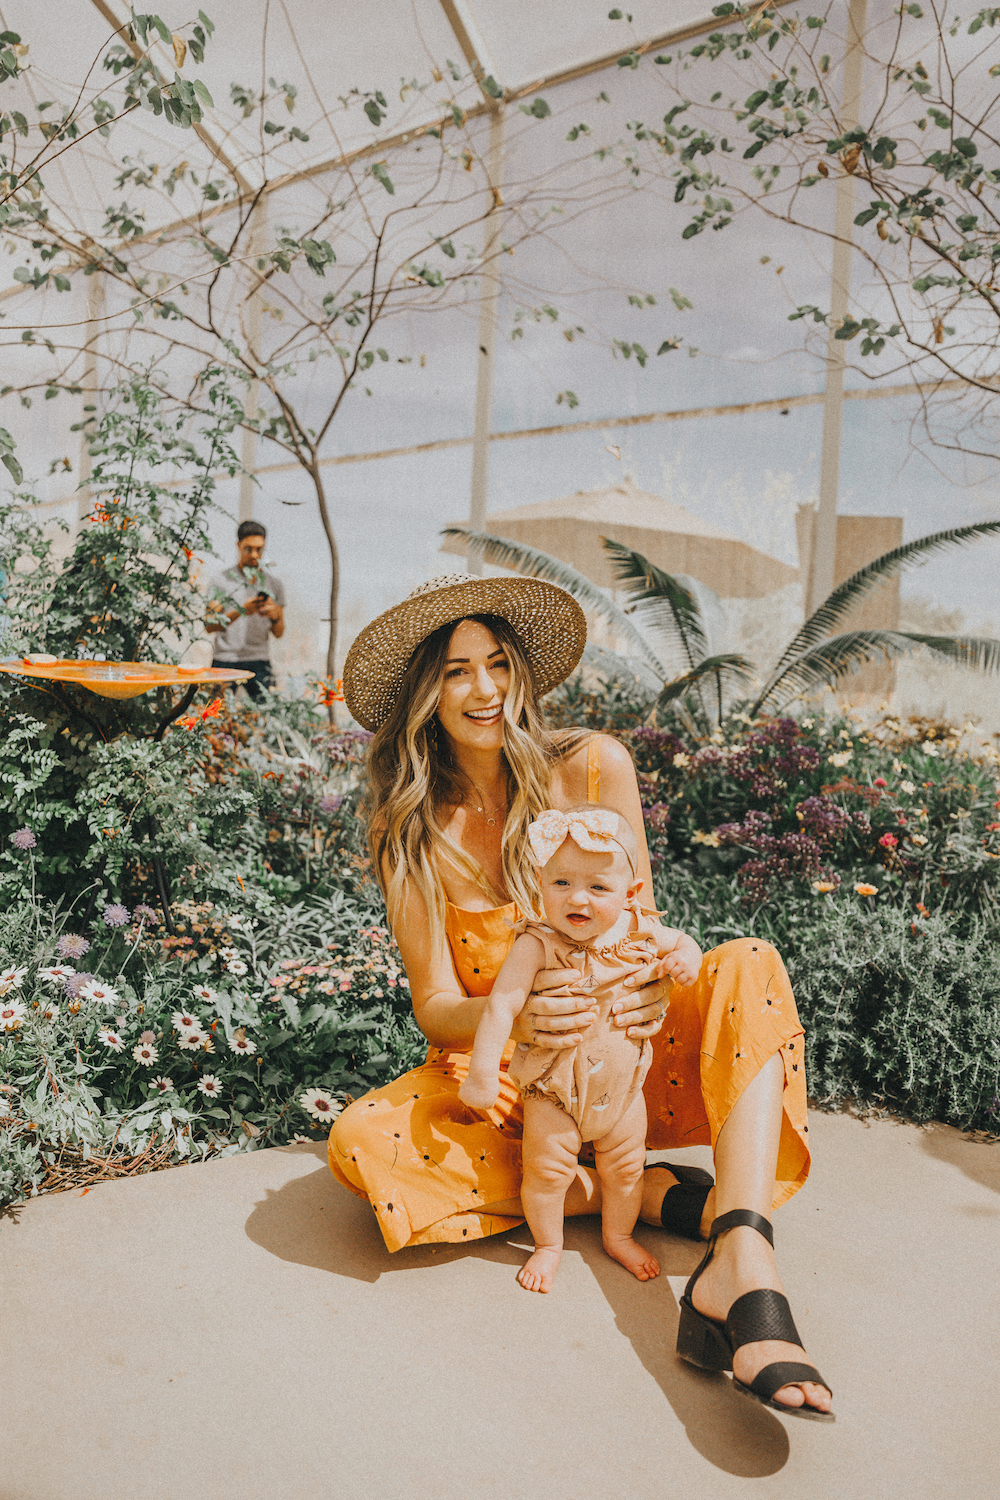
DRESS: CHICWISH (LAST SEEN HERE) | BRACELET: PURA VIDA C/O | RINGS: TURQUOISE RING (ALSO LOVE THIS COBALT RING), RING STACK | NECKLACES: STONE NECKLACE, “V” NECKLACE
What did you guys think of this tutorial? Leave me a comment below letting me know what tutorial you’d like to see next.