


SWEATER: EQUIPMENT RED ‘SLOANE’ SWEATER // SKIRT: TIBI SILK FAILLE FULL SKIRT // HEELS: ZARA (OLD, SIMILAR RUBY RED SUEDE PUMP) // BAG: YSL MONOGRAMME SHOULDER BAG // RING: DAVID YURMAN CONFETTI RING // NAILS: CND VINYLUX
Sometimes things don’t work out as planned. As my fellow bloggers know, not every outfit works and not every shoot turns out the way we’d hoped. Sometimes it can be the wrong location or sometimes you just simply forget a key piece of the pie when scrambling out the door (it’s happened). Whatever the case, there will always be some photos you don’t love… and this post is one of those. There are actually quite a few batches of photos/outfits that I have been sitting on for months that I just don’t think will ever make the cut. So in light of these “outtakes,” I thought I might share with you some instances and issues we have run into when taking outfit photos, and what we have done to remedy.
Now, I probably should preface this with the fact that neither Ben or I are “professional” photographers. When we started this blog a little over two years ago, we bought our very first DSLR as well as Photoshop and basically dove in head first with not a clue and never having used either. In the past two years though we have played around and have had to figure out what works for us, and what doesn’t. I also had to learn a few new tricks when we moved from San Diego to Arizona because of the difference in light and location. Anyway, here are some fun little tidbits and tricks that we have discovered.
Let’s talk about location.
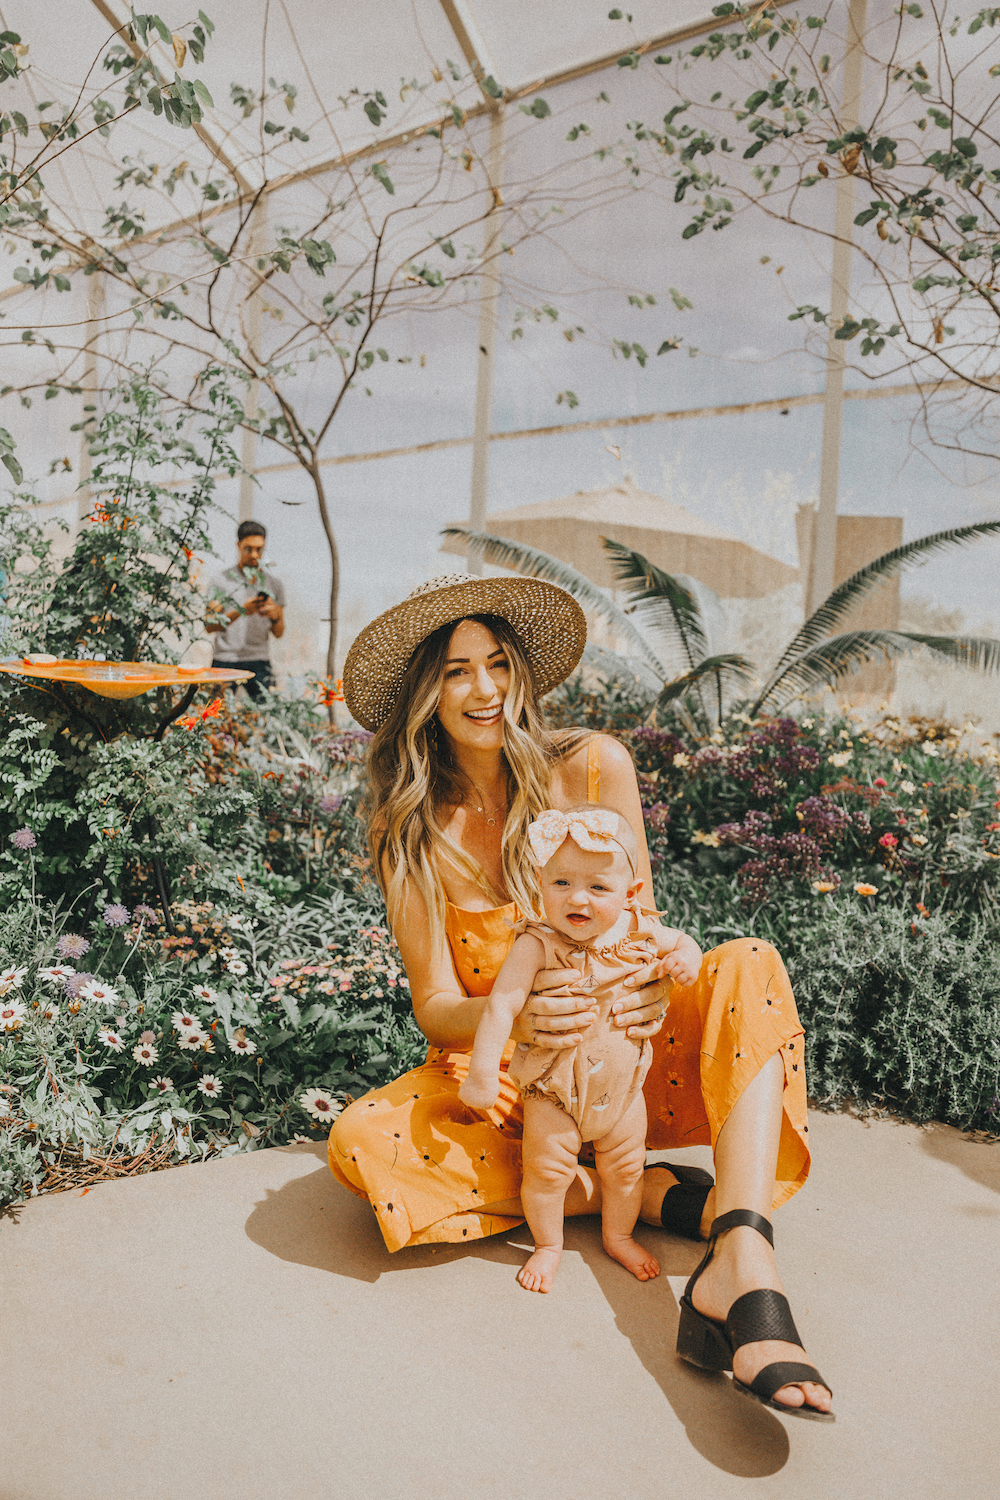
Location (and light… but more on that later) is everything. I like to look for interesting textures and colors that will complement the outfit, but also make it stand out (i.e. you wouldn’t want to choose an all white background for an all white outfit). We don’t do much location scouting (although that’s on my to-do list), so as we are driving I usually look for a cool wall or building. But I will say that if you do have time to scout locations, find a few go-to’s that you can rely on when you’re in a hurry and you’re in danger of losing your light. Anyway, this all red outfit is an example of a location I didn’t love… and as a result, I had a hard time extracting images I liked. Ben and I were wandering around and just shooting as we went and we came across a big green area (lots of grass and trees). We shot there for a while but when I downloaded the images I hated all of those shots. Normally I love a bright green background because it adds interest to your photo and shows your outfit in a real world setting, but you have to consider what you are wearing (as well as the time of year). Here, I am wearing all red, so a green backdrop might make it look a little Christmasy (not what we’re going for). Thankfully, we had moved on to try and find colors better suited for the outfit that added more value to the Valentines Day Outfit story, but some of those turned out funny too. Here’s why: unfortunately Arizona has a lot of beige stucco buildings, and I discovered (when we moved here) that they tend to reflect an orange glow over your photos (which, for the most part, I hate). I am drawn to more of the cool tones, so I like to look for areas with white, black or grey buildings so they won’t reflect too much warmth into our images. Unless I am going for that sun-drenched desert bohemian look, I tend to steer clear of the warmer tones. You may also notice that I don’t take advantage of the beautiful desert we live in too often. I honestly want to venture out and try more desert shoots, but I like to show my outfits in the context of where you (my readers) can wear them (i.e. out and about / in urban settings where life happens). My photos aren’t super editorial, but I do like to experiment and would love to try creating a few more “editorial” looks (i.e. the juxtaposition of wearing high heels and faux fur in the middle of the desert). It sounds fun and would definitely put me out of my current comfort zone… which is where we learn.
Now let’s talk about light.
In San Diego, Ben and I preferred to shoot in the afternoon. We usually had class in the mornings so I would just wear what I was planning on shooting to school and we would find some shade between classes or look for that beautiful “golden hour” light. But our strategy changed when we moved to Arizona because, well, 1) Ben has to work and can’t just leave to shoot me every afternoon (haha), and 2) I personally find that the bright orange sunsets, again, cast too much warmth for my taste (totally a personal preference thing). So we prefer to shoot in the early morning as the sun is coming up (the sun rises over the mountains instead of setting over the desert sand). However, sometimes the bright sunrise in direct light can over-expose your image and create a chromatic aberration (that purple/blue outline around your subject, as seen on the stripes in this post where I am wearing a stripe crop top and pink midi skirt). You can somewhat fix the chromatic aberration in your edits, but it’s a pain in the butt. Another tricky issue with lighting is the sun can also reflect off a surface and shine through your subject making it look like the sun is actually eating them haha (see the picture from this post where the sun is shining through my legs). I don’t really know a fix for this other than seeking out shade or using a uv filter on your lens (something I need to start playing around with more)… but if you guys have any in-camera manual adjustment suggestions let me know! I’d love to swap tips and tricks with you guys.
And how about the outfit?
Because of a lack of time, we usually shoot all outfits for the week at once (hence why you hardly see much of a hair change). If I had a photographer that could meet any day of the week, I might do it differently… but I don’t. This means I, in theory, have to plan in advance. I used to literally put together my outfits in my head twenty minutes before running out the door without even trying them on beforehand. This led to a few instances where the outfit just didn’t work. And sometimes I would forget to grab the necessary accessories (like a color-coordinating purse or a necklace to balance out the top). I learned my lesson and now I plan my outfits the day before, trying each on and placing them into little piles so we can load everything up properly. Another snafu? Throwing them haphazardly in the car or sitting on your freshly pressed / steamed garments = wrinkles (see this yellow midi skirt post). Yikes! But what can you do? You can try to edit them out, but I don’t have any crazy tricks for this (I am not that advanced)… so the wrinkles end up really distracting from the outfit and image. Thus, make sure to keep things hung properly in your car if you plan on doing any outfit changes. I have also mentioned this before, but also wear your your tight clothes last – like denim – in order to avoid lines on your legs.
Anyway, that’s it for now. Did you guys learn anything new? Did you like this post? I would love to hear your tips and tricks that you have learned in the comments below.
SHOP THE RED LOOK HERE:

Thanks for stopping by and good luck. Have fun, play around, find what works for you and what doesn’t. It will be a lot of trial and error, but that’s a great way to learn. And just remember that no one starts out as a professional… we all have to start somewhere. So just experiment – that’s what my blog is all about… experimenting with personal style and experimenting with photography. Bear with me through the trials. 🙂